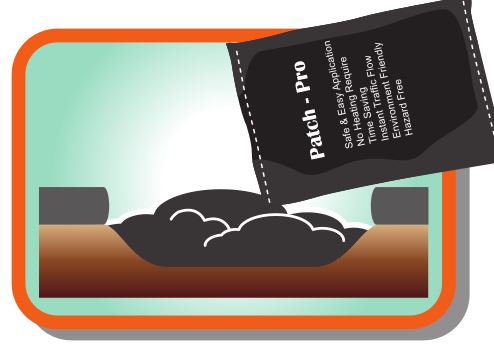
It’s simple to use Promix Patch-Pro Cold Asphalt
It so easy — ” Just Patch and Go”
For more product application, please follow our social link:

STEP 1 – CLEAN
Clean and clear the repair area of all the loose material
STEP 2 – POUR
Pour Promix Cold Asphalt on the repair area

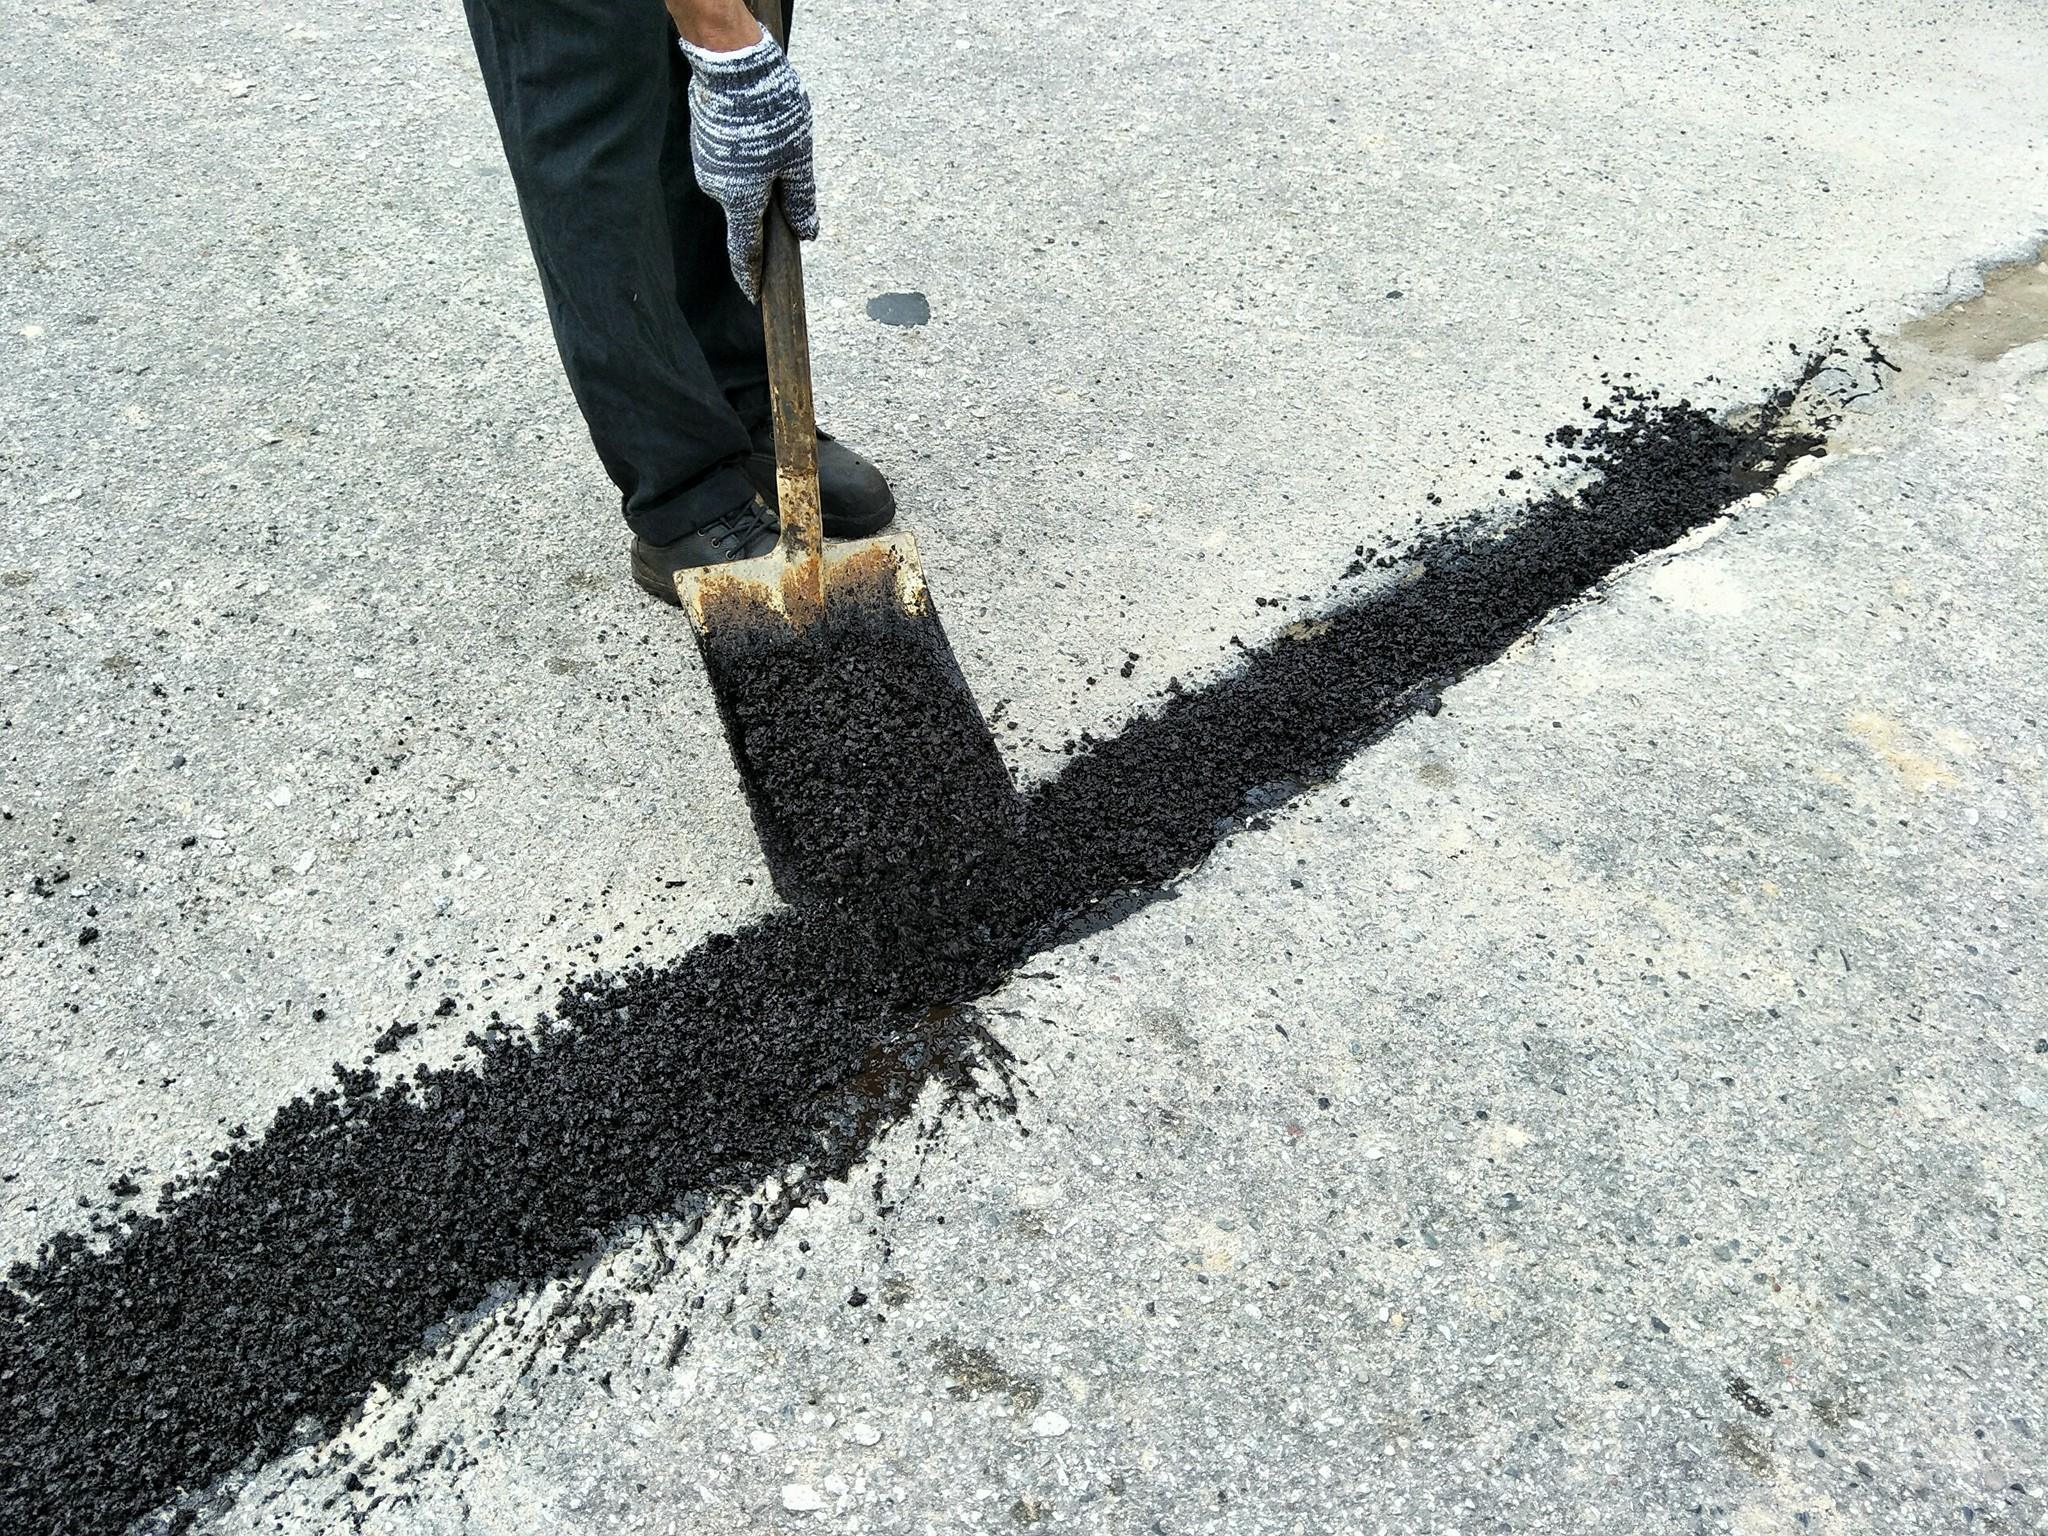
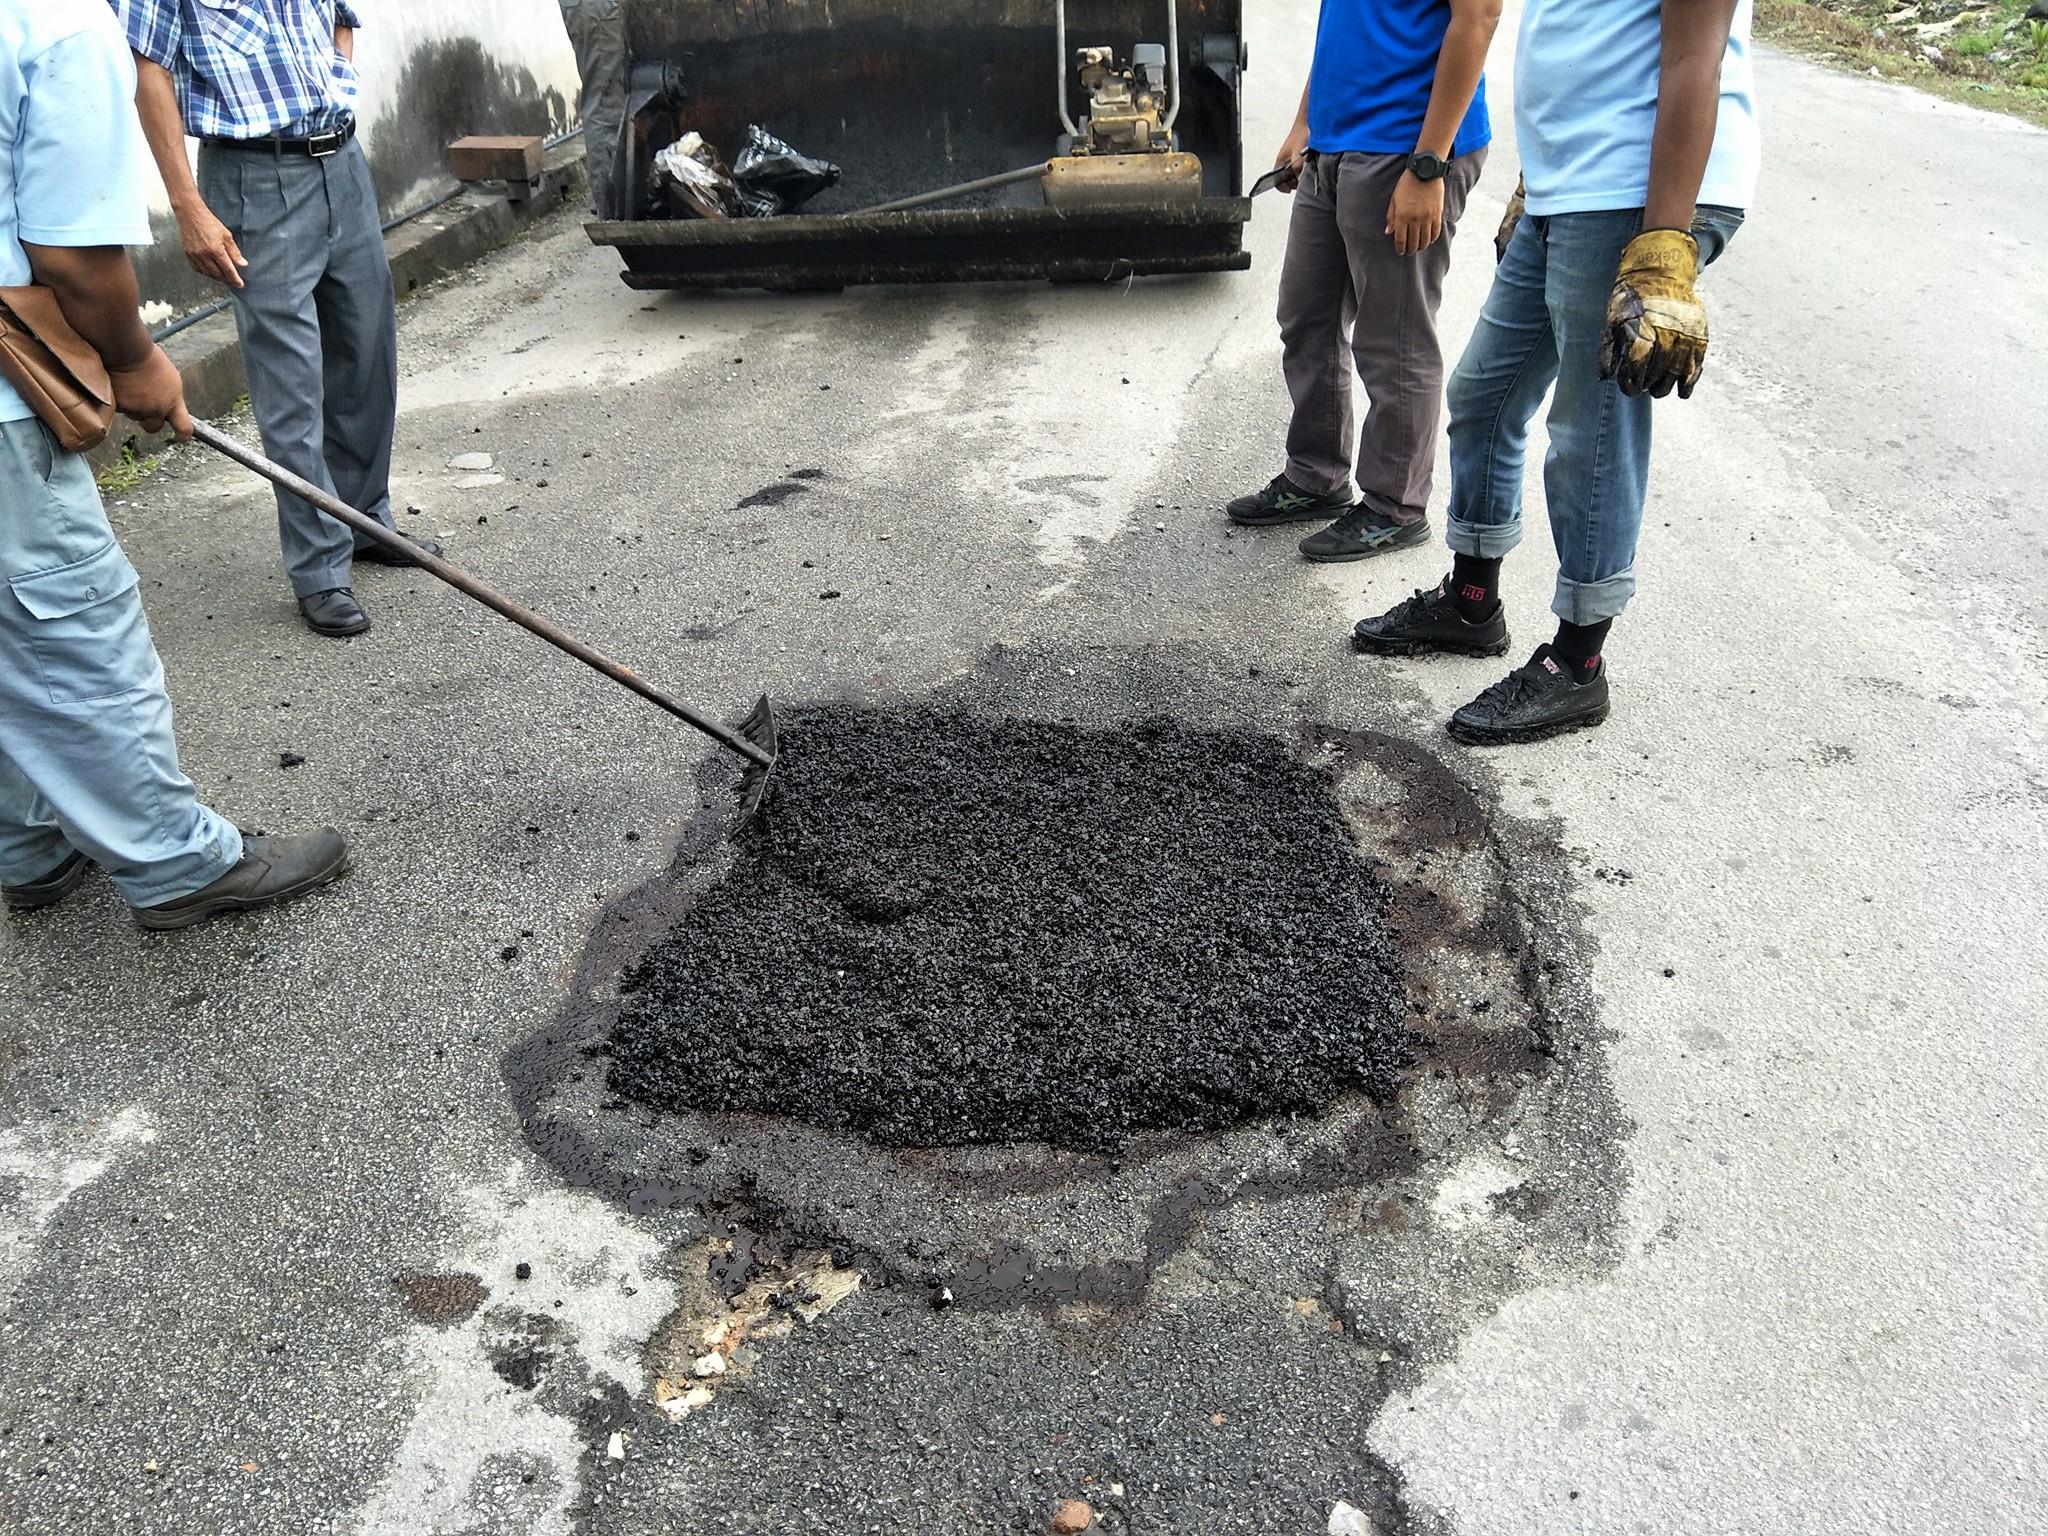
STEP 3 – PATCH
Patch and fill the repair area using shovel
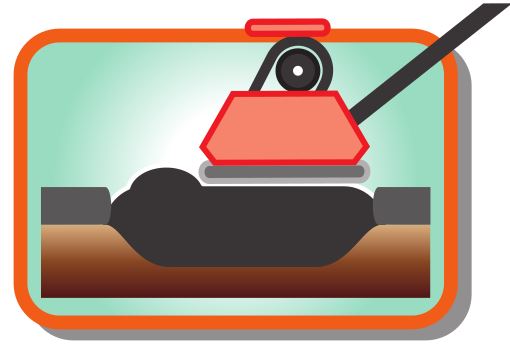
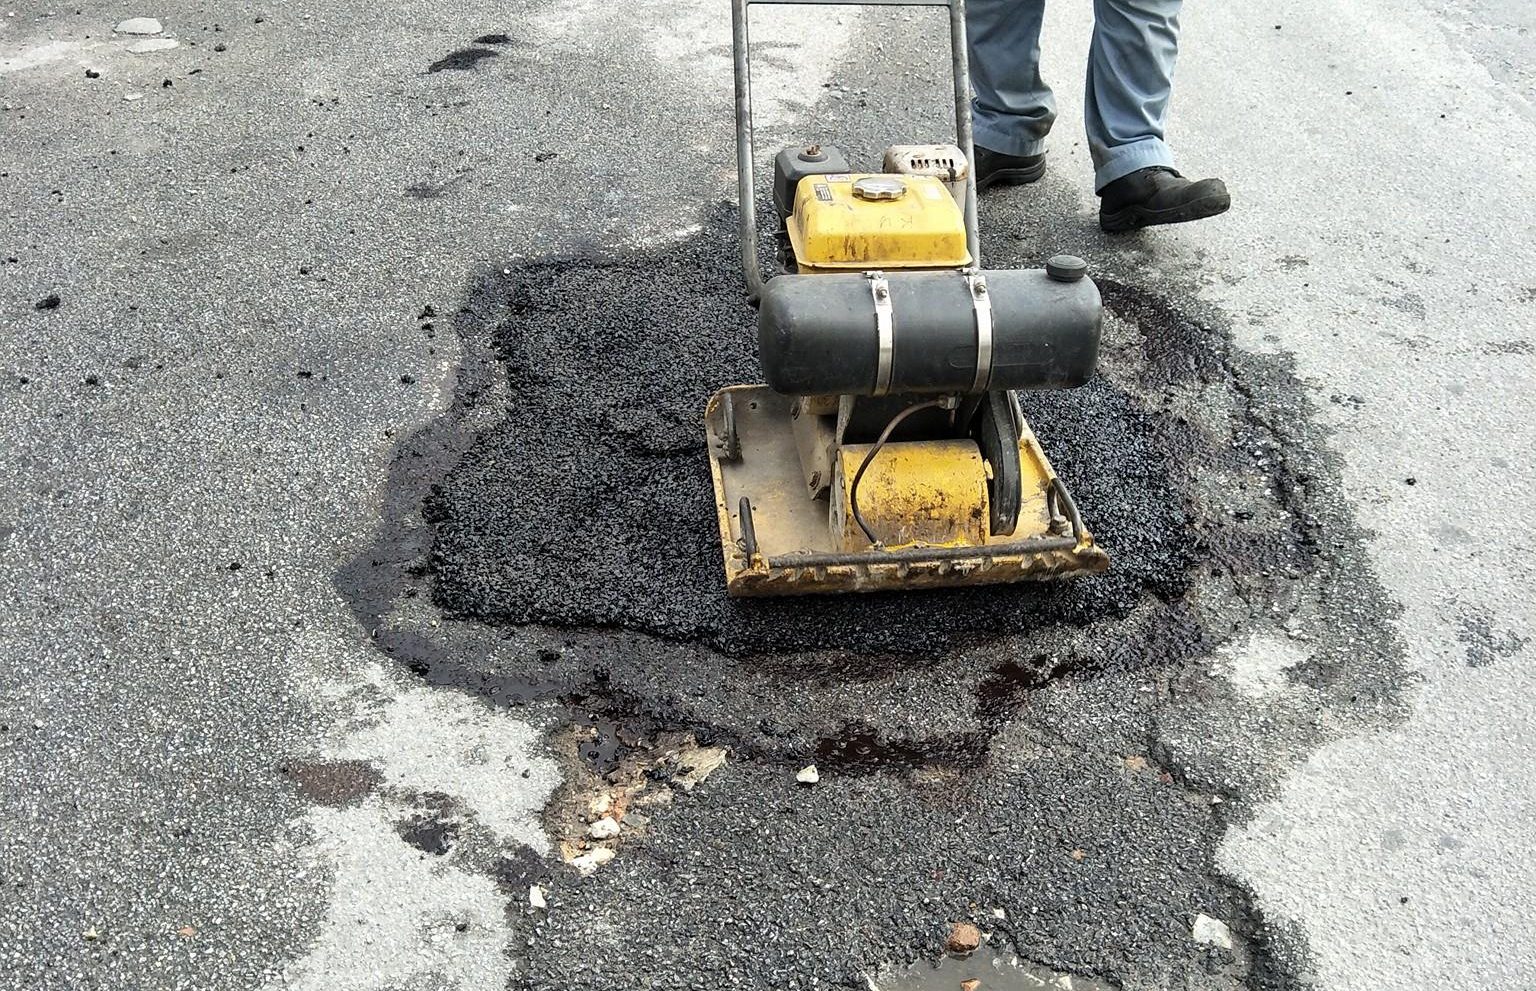
STEP 4 – COMPACT
Apply compaction with the shovel or any hand compact tool

STEP 5 – FINISH
Complete repair and instant traffic ready to go
Application of Promix Patch-Pro Cold Asphalt